How Do I Clean My Dispenser Effectively?
The Ultimate Guide to a Spotless Dispenser: Banish Grime, Germs, and Lingering Odors for Good
That water cooler in the corner of the office, the soap dispenser on your kitchen sink, the beverage server you pull out for parties… they seem innocent enough. But have you ever looked closely?
Maybe you've noticed a strange, funky smell. Perhaps you've felt that slimy film when you run your finger along the inside of the spigot. It's a thought that can make your stomach sink: Just how clean is my dispenser?
Don't worry, you're not alone, and the solution is simpler than you think. A dirty dispenser isn't just gross—it can harbor bacteria, mold, and yeast that can affect the taste of your water or even impact your health.
Ready to go from grimy to gleaming? This step-by-step guide will show you how to effectively clean any type of dispenser, ensuring it's fresh, hygienic, and ready for action.
Step 1: Gather Your Cleaning Arsenal
Before you begin, having the right tools on hand will make the process a breeze. What you need depends on your dispenser type.
For All Dispensers:
- ✅ Non-abrasive sponge or cloth
- ✅ Microfiber cloth (for a streak-free finish)
- ✅ A long, flexible bottle brush or pipe cleaner
- ✅ A small brush (an old toothbrush works perfectly)
- ✅ Rubber gloves (to protect your hands)
For Water & Beverage Dispensers (Food-Safe):
- ✅ White distilled vinegar (your new best friend)
- ✅ Warm water
For Soap, Lotion, or Sanitizer Dispensers (Non-Food-Safe):
- ✅ Dish soap
- ✅ Hot water
Pro Tip: Always check your manufacturer’s manual first! They may have specific cleaning recommendations or warn against using certain chemicals.
Step 2: The Deep Clean for Water & Beverage Dispensers
The main culprits here are mineral buildup (limescale) and biofilm (that slimy bacteria layer). Vinegar is a natural, food-safe wonder product that dissolves minerals and disinfects without harsh chemicals.
- Unplug & Empty: If you have an electronic water cooler, unplug it for safety. Drain all the water from the reservoir and remove the bottle.
- Mix Your Solution: Create a cleaning solution of 1 part white vinegar to 3 parts water. For a standard 5-gallon cooler, that’s about 1 gallon of vinegar and 3 gallons of water.
- Add the Solution: Pour the vinegar mixture into the reservoir. Use your non-abrasive sponge to wipe down the inside walls of the tank.
- Clean the Spigot (Crucial!): This is where the most gunk hides. Place a bucket or bowl under the spigot and dispense some of the vinegar solution through it. Then, use a small brush or pipe cleaner to scrub both the inside and outside of the spigot nozzle.
- Let It Sit: Let the vinegar solution sit in the reservoir for 10-20 minutes to break down any stubborn buildup. For really tough scale, you can let it sit for a few hours or even overnight.
- Scrub & Drain: Give the inside one last good scrub, especially around the bottom corners. Drain every last drop of the vinegar solution.
- Rinse, Rinse, Rinse! This is the most important step. You must get rid of all the vinegar taste. Refill the reservoir with fresh water, swish it around, and drain it through the spigot. Repeat this rinsing process 2-3 times to ensure the water runs clear and taste-free.
- Reassemble & Test: Put everything back together, plug in your cooler (if applicable), and pour in a fresh bottle of water. Enjoy that crisp, clean taste!
Step 3: Tackling Soap & Lotion Dispensers
The challenge here isn't minerals, but congealed, dried-up product that clogs the pump. Hot, soapy water is your secret weapon.
- Empty & Disassemble: Pump out any remaining product. Then, take the dispenser apart. This usually means unscrewing the pump mechanism from the reservoir.
- Flush the Pump: Fill a bowl or sink with hot, soapy water. Submerge the pump and repeatedly press it until the water runs clear and freely through it. This forces the old, gummy soap out of the inner tubing.
- Scrub the Parts: Let all the parts (reservoir, pump, nozzle) soak in the hot, soapy water for about 15 minutes. Then, use a brush or pipe cleaner to scrub away any residue inside the pump components and the reservoir.
- Rinse & Dry Thoroughly: Rinse all parts with clean, warm water. Dry everything completely before refilling. Any leftover water will dilute your new soap or lotion.
- Refill and Reassemble: Pour in your fresh product and screw the pump back on. Good as new!
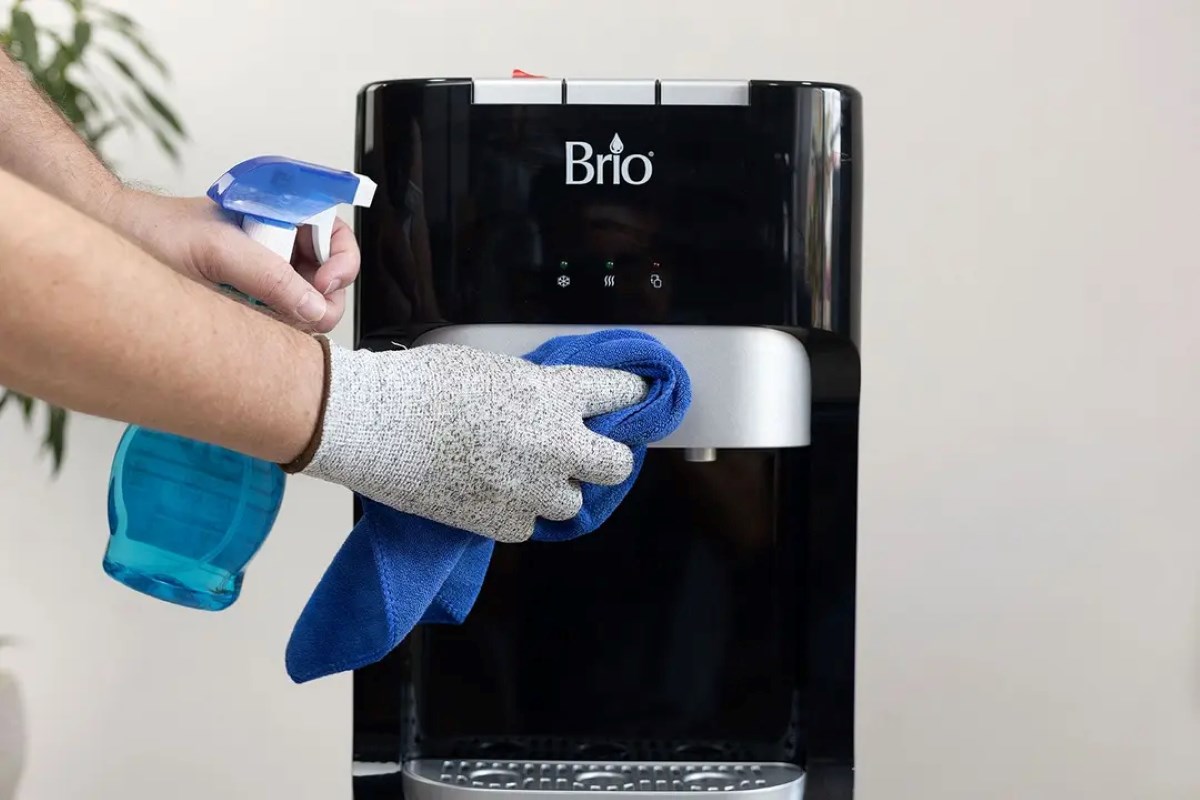
Step 4: Don’t Forget the Exterior
A shiny exterior makes the whole thing feel cleaner!
- Simply wipe down the entire outside surface with a damp cloth and a drop of mild dish soap.
- Pay special attention to high-touch areas like handles, buttons, and the top of the dispenser.
- Finish with a dry microfiber cloth for a perfect, streak-free shine.